Design the empty space as carefully as the scenery
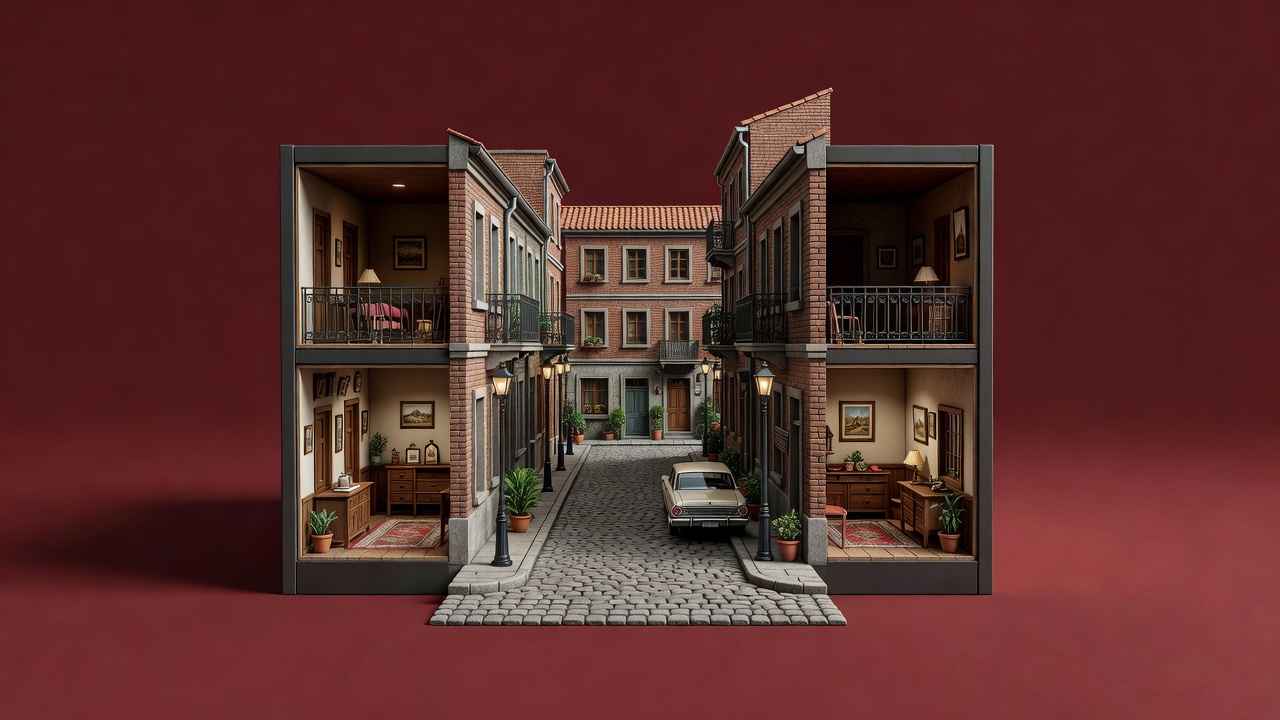
A miniature set contains more than buildings and ground. It also contains the volume needed by the camera, lens, support, lighting and people who maintain it. Draw those volumes into the plan. A beautifully finished street is not ready for filming if the lens cannot reach its intended height without colliding with the pavement or a neighbouring façade.
Use the actual camera package dimensions wherever possible. Allow for cables, focus equipment and changes during setup. A removable wall should leave a useful opening, not merely a narrow gap through which the body fits. Check the whole planned move, including its start and finish. A clear static view does not guarantee a clear travelling shot.
Make focus a shared decision
Miniature photography often makes depth of field conspicuous because the camera works close to a small subject. Stopping down can increase depth of field, but it also changes exposure requirements and may introduce diffraction. A smaller sensor, a different lens, a revised camera position or a change to scenic depth may be more practical than demanding an extreme aperture.
Test with the cinematographer rather than treating focus as a problem to solve after fabrication. Place detail at the nearest and furthest important planes. Watch the result at the intended delivery size. A background that is gently soft can help depth; a foreground detail that accidentally loses definition may expose the model. There is no universal aperture that makes every miniature look full size.
Match the apparent size of the light
A source’s apparent size from the model determines much of the softness of its shadows. A large nearby softbox can produce broad, gentle light that may or may not fit the scene. A smaller or more distant source can create harder shadows. Neither is inherently more realistic: choose according to the fictional weather, location and time, then test how that choice describes the model’s relief.
Work with lighting ratios and direction before chasing small decorative effects. A restrained key and controlled fill can establish scale more clearly than dozens of bright windows. Check background separation and unwanted spill. Light can reveal an unpainted rear edge or a seam that was invisible under the workshop’s general illumination.
Give windows somewhere to go
Lit windows need space behind them for diffusion, baffles and wiring. Without separation, one source can flatten an entire building into a glowing box. Divide interiors where the shot requires different brightness or colour, and make the lighting accessible without dismantling the façade. Dark windows also need attention: a black return can supply depth while preventing the camera from seeing through the model.
Keep power systems appropriate to the installation and have electrical work checked by a competent person. Avoid trapping heat against combustible materials. Label circuits and connectors, provide strain relief and plan how failed components will be replaced. Flicker testing should use the actual camera settings, because a light that appears steady to the eye may behave differently at the chosen frame rate or shutter setting.
Plan the composite while the set is still simple
If the miniature will be combined with live action or digital extensions, agree on reference requirements before the final paint. Camera measurements, lens information, lighting references and clean plates may be essential. Tracking markers need a removal strategy. Reflective materials may complicate a backing screen. These decisions belong in the design discussion, not in a hurried conversation after the last take.
2001: A Space Odyssey, with effects work by Douglas Trumbull and others, remains a valuable reference for controlled model photography. Star Wars and the work of John Dykstra and Industrial Light & Magic offer another historical route into repeatable camera movement. Moon, whose miniature work involved Bill Pearson, shows why physical models remain useful beyond their most familiar historical period.
Keep movement and atmosphere honest
Smoke, dust, water and falling pieces do not automatically behave like full-size phenomena simply because the scenery is reduced. Frame rate changes may help some effects, but no single speed adjustment solves every material behaviour. Test effects separately and involve qualified specialists for hazardous work. A quiet atmospheric layer or a digital addition may serve the shot better than an uncontrolled practical experiment.
Kris Malkiewicz’s Film Lighting is a useful reference for the underlying language of sources, contrast and mood. Bring that language back to a modest test: one street section, one lens position and a few lighting variations. Approve a reference frame, record the settings and leave the access routes intact. The model is finished when the shot can be repeated, not merely when it looks complete on its stand.